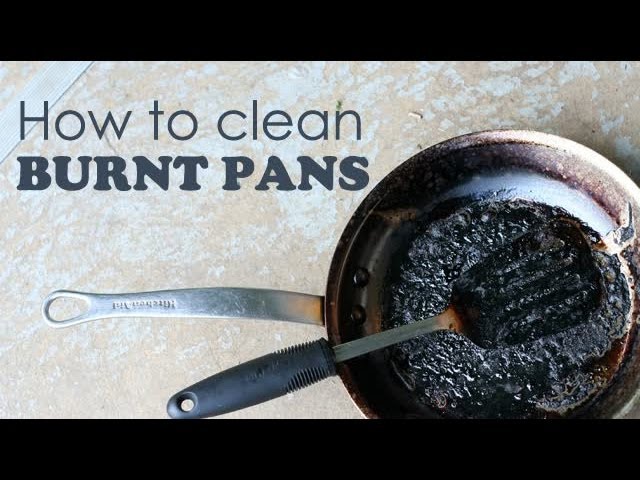
How To Clean Burnt Pan: The Brutal Truth.
Look, we’ve all been there. You’re cooking. Then you’re not. And suddenly, your favorite pan looks like a charcoal briquette factory exploded. It’s a mess. A sticky, greasy, carbonized mess. Most guides drone on about gentle scrubbing and soaking. Bullshit. Let’s get real. This isn’t about fairy tales; it’s about brute force and smart hacks. How to clean burnt pan when it looks like a lost cause? That’s what we’re tackling. Forget the fluff. We’re going deep.

Honestly, a lot of ‘experts’ online give you the same tired advice. Boil water. Add baking soda. Scrub gently. It’s weak. It’s often ineffective. The thing is, when a pan is truly burnt, you need more than a whisper and a prayer. You need something with actual grit. Something that understands that cooking is often a battlefield, and sometimes, your pan takes a hit. A bad hit.
The Myths Debunked.
First off, let’s kill some stupid myths. No, your pan isn’t automatically ruined because you scorched your risotto. That’s just lazy thinking. Pans are tougher than you think. They have to be. They live over open flames, electric coils, induction fields. They’re designed for punishment. So, stop treating them like delicate china. They’re tools. Dirty tools sometimes.
I remember a Thanksgiving, maybe ’08. My aunt, bless her heart, decided to deep-fry a turkey indoors. In a cast iron skillet. On the gas stovetop. It went about as well as you’d expect. The smoke alarm wailed. The pan? It looked like it had been forged in Mount Doom. We thought it was a goner. A $50 skillet, toast. Turns out, cast iron is resilient. Really resilient. A little elbow grease, some serious heat, and a lot of cursing, and it came back. Mostly.
Prep: It’s Not Rocket Science, But It Matters.
Before you start attacking that burnt-on gunk, let the pan cool. Seriously. Don’t be a hero. Pouring cold water into a screaming hot pan is a good way to warp it. Or worse, crack it. Wait. Let it come down. Patience, even for us impatient types, is key here. It stops you from making a bad situation even worse. Which, let’s be honest, is a common cooking pitfall.
Scrape out any loose bits. Use a wooden spoon or a plastic scraper. Metal can scratch, depending on your pan. Non-stick? Forget metal. Stainless steel? You might get away with it, but why risk it? Get the easy stuff off first. It makes the real cleaning easier. Like peeling an onion. Only with more grime.
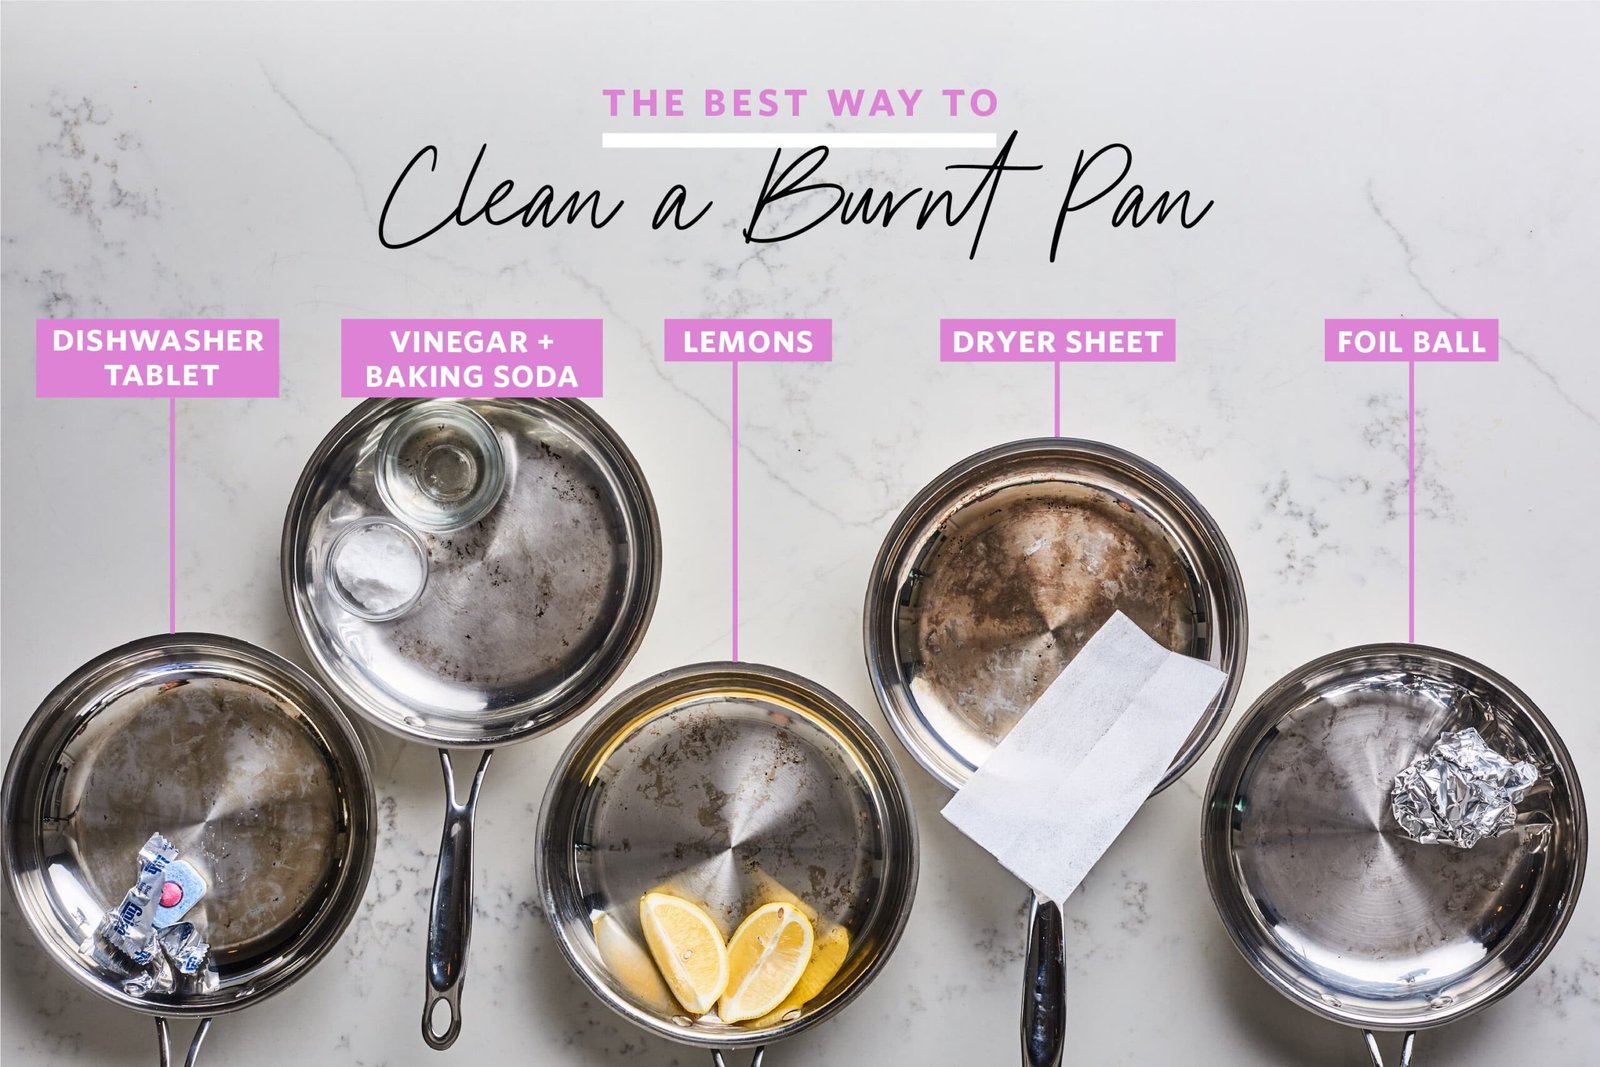
Method 1: The Baking Soda & Water Blitz.
This is the go-to for a reason. It’s cheap. It’s effective for moderate burns. You’re not going to win every battle with this one, but it’s a solid start. The thing is, you need the right ratio. Too little baking soda, and you’re just playing. Too much, and it’s a gritty mess you’ll spend ages rinsing.
What you need:
- Baking soda (about 1/2 cup)
- Water
- A non-abrasive sponge or scrubber
Cover the burnt area with water. Sprinkle in the baking soda. Stir it into a paste. Let it sit. For maybe an hour. Or overnight if it’s really bad. Then, scrub like hell. Rinse. Repeat if necessary. It’s simple. It’s often enough. Don’t underestimate its power for everyday burns.
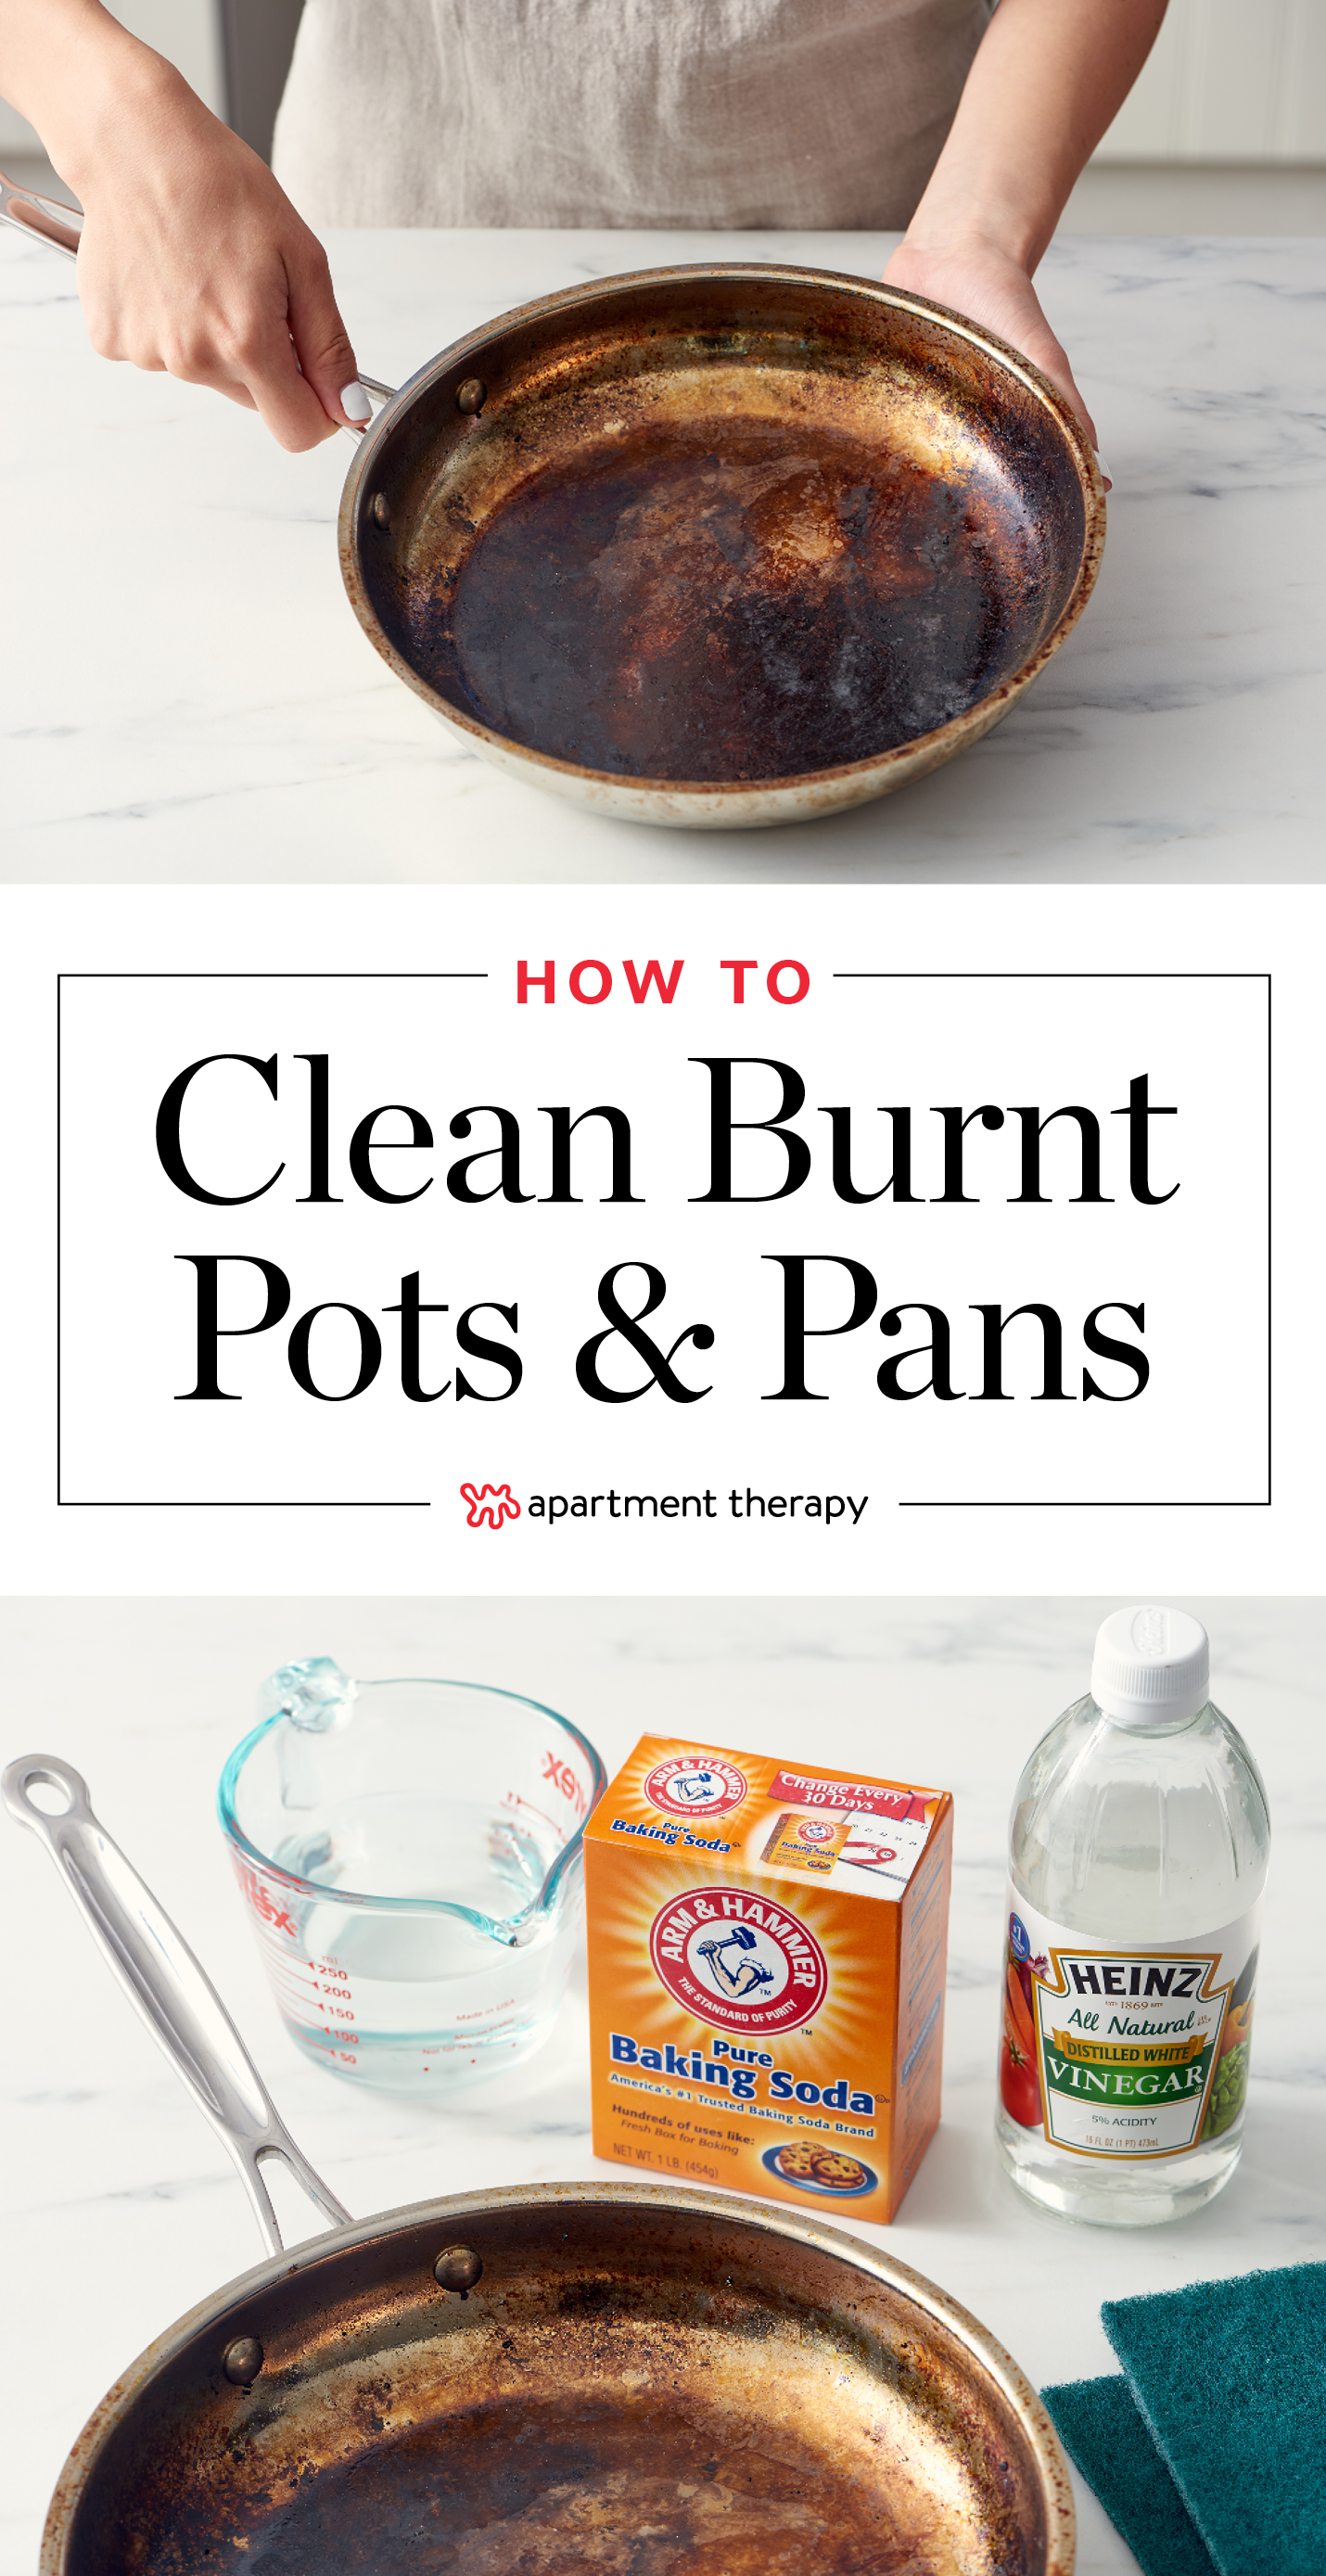
Method 2: The Vinegar Vengeance.
Vinegar. The acidic warrior. It cuts through grease and grime like nothing else. But mixed with baking soda? It’s a chemical reaction that creates foam. It’s science, baby. This combo is great for tougher stains that baking soda alone can’t handle. To be fair, the foaming can be a bit much if you’re not prepared. But it works.
Steps for the Vinegar Combo:
First, put a layer of baking soda on the burnt bottom. Then, pour in enough white vinegar to make a paste. Let it fizz and bubble. Seriously, watch it work. Let it sit for maybe 30 minutes to an hour. The acid breaks down the stubborn bits. Then, scrub. Use a stiff brush or a scouring pad. Rinse thoroughly. You might need to do this twice for really stubborn jobs. I had a pan once, after a disastrous attempt at caramel, that looked like tar. Vinegar was the only thing that even dented it.
Method 3: The Bar Keepers Friend Baptism.
This stuff. Bar Keepers Friend. It’s not just for sinks. It’s a godsend for burnt pans, especially stainless steel. It’s got oxalic acid. That’s the magic. It eats through burnt-on food and discoloration. But be careful. It’s abrasive. Don’t use it on non-stick surfaces. Ever. You’ll ruin it. I learned that the hard way with a $100 All-Clad pan. Felt like an idiot.
How to use it:
- Make a paste with Bar Keepers Friend and water.
- Apply it to the burnt areas.
- Let it sit for a few minutes. Don’t let it dry completely.
- Scrub with a non-scratch sponge or cloth.
- Rinse thoroughly. Repeat if needed.
This is your heavy artillery. Use it when the simpler methods fail. It’s aggressive, but effective. For stainless steel, it’s king. For other materials, tread lightly.
Method 4: The Boiling Water Soak (Yeah, I Know).
Look, I said I hate fluff, but sometimes… sometimes a good old boil works. Especially for less severe burns. You’re basically rehydrating the burnt-on mess. Making it easier to scrape off. It’s not fancy. It’s not aggressive. But it’s a valid step before you break out the power tools. Or the Bar Keepers Friend.
The Simple Boil:
- Fill the pan with enough water to cover the burnt area.
- Add a squirt of dish soap. Or a tablespoon of baking soda.
- Bring to a boil. Let it simmer for 10-15 minutes.
- Turn off the heat. Let it cool slightly.
- Scrape with a wooden spoon or spatula. Most of the gunk should lift off.
This is your first line of defense. If the boil gets most of it, great. If it leaves stubborn spots, then you move to the stronger stuff. It’s a progression. Like leveling up in a video game.
Special Cases: Material Matters.
We need to talk materials. Your pan isn’t made of some magical, one-size-fits-all material. That matters. Hugely.
Stainless Steel: The Workhorse.
Stainless steel is tough. It handles heat well. It can take some abuse. Bar Keepers Friend is your friend here. So is the baking soda and vinegar combo. Avoid steel wool unless you want a scratched mess. A nylon scrubber or a Dobie pad is better. Just remember, stainless can discolor with extreme heat. That’s often permanent, but the burnt food is usually removable.
Cast Iron: The Old Timer.
Cast iron is different. It’s porous. It’s seasoned. You don’t want to strip that seasoning. Or at least, try not to. For light burns, hot water and a stiff brush or chainmail scrubber work wonders. For serious burns, you can use baking soda paste. Let it sit, then scrub. Avoid harsh detergents. If you do strip the seasoning, you’ll need to re-season it. That means oil, heat, and patience. It’s a whole other ordeal.
I once dropped a whole rack of ribs onto a cast iron skillet. Burned right into the metal. Looked like a crime scene. I used a baking soda paste, let it sit overnight, and then scrubbed like a maniac. It took a lot. But I got most of it off without completely destroying the seasoning. Close call, though.
Non-Stick: The Delicate Flower.
Non-stick? Oh boy. This is where you need to be gentle. The coatings are fragile. Forget abrasive cleaners. Forget metal utensils. Even aggressive scrubbing can damage the coating. Your best bet? Warm water, mild dish soap, and a soft sponge. For burnt-on food, a gentle soak usually does the trick. Sometimes, a paste of baking soda and water left for a few hours helps. But if it’s really bad? Honestly, you might be looking at a new pan. It’s cheaper than ingesting microscopic plastic bits.
Copper & Enameled Cast Iron: The Fancy Pants.
Copper pans need special polish. For burnt bits, try the boiling water method first. Then maybe a baking soda paste. Enameled cast iron (like Le Creuset) is more forgiving than non-stick, but still avoid harsh abrasives. Baking soda and gentle scrubbing are usually best. Never use steel wool on enamel. Ever.
The Unforgiving Table: Tough Burns Breakdown
Here’s a quick cheat sheet for when things get ugly. This isn’t exhaustive, but it’s a starting point. These are based on my own kitchen disasters, dating back to my first apartment in 2005. That place had a stove that ran hotter than the sun. Everything burned.
| Burn Type | Best Method (Start Here) | Next Step (If Needed) | Last Resort |
|---|---|---|---|
| Lightly Scorched (Food residue) | Boil water + soap | Baking soda paste | Gentle scrub with Bar Keepers Friend (Stainless only) |
| Moderately Burnt (Blackened bottom) | Baking soda paste (long soak) | Vinegar + baking soda | Bar Keepers Friend (Stainless/Enameled – check manufacturer) |
| Severely Burnt (Carbonized mess) | Vinegar + baking soda (long soak) | Bar Keepers Friend (apply carefully) | Steel wool (ONLY on very old, durable stainless or cast iron. Accept potential damage.) |
| Grease Fire Residue | Baking soda paste (heavy application) | Vinegar + baking soda | Bar Keepers Friend (use with caution) |
Remember: Always check your pan’s manufacturer instructions if you’re unsure. Some materials are just too delicate for aggressive cleaning. Ruining a good pan is worse than having a slightly burnt one for a day.
Prevention: The Best Cure.
Honestly? The best way to ‘clean a burnt pan’ is to not burn the damn pan in the first place. Pay attention. Use the right heat. Don’t walk away from the stove. Stir your food. It sounds obvious, but we all get distracted. Keep an eye on things. A little attention saves a lot of scrubbing later. And saves you money on replacement pans. Plus, nobody likes that burnt smell lingering in the house for days.
Frequently Asked Questions
Can I use oven cleaner on a burnt pan?
Answer: Generally, no. Oven cleaner is extremely harsh and can damage most pan surfaces, especially non-stick coatings, aluminum, and even some stainless steel finishes. Stick to the methods above.
How long should I soak a burnt pan?
Answer: For light burns, 30 minutes to an hour might be enough. For moderate to severe burns, soaking overnight is often necessary. The goal is to soften the burnt-on food so it can be easily scraped or scrubbed away.
Will a burnt pan affect the taste of food?
Answer: Yes, if the burnt residue is significant and not completely cleaned. It can impart a bitter or smoky flavor to your next meal. Thorough cleaning is essential.
What’s the best way to clean a burnt non-stick pan?
Answer: Gently. Use warm water, mild dish soap, and a soft sponge. For tougher spots, try a paste of baking soda and water, let it sit for a few hours, then gently scrub. Avoid abrasive materials and harsh chemicals at all costs; they will ruin the coating.
Is it safe to use steel wool on burnt pans?
Answer: Only on specific materials, like older, durable stainless steel or cast iron, and even then, with extreme caution. Steel wool is highly abrasive and will scratch most surfaces, including non-stick, copper, and enameled finishes. You risk permanent damage.